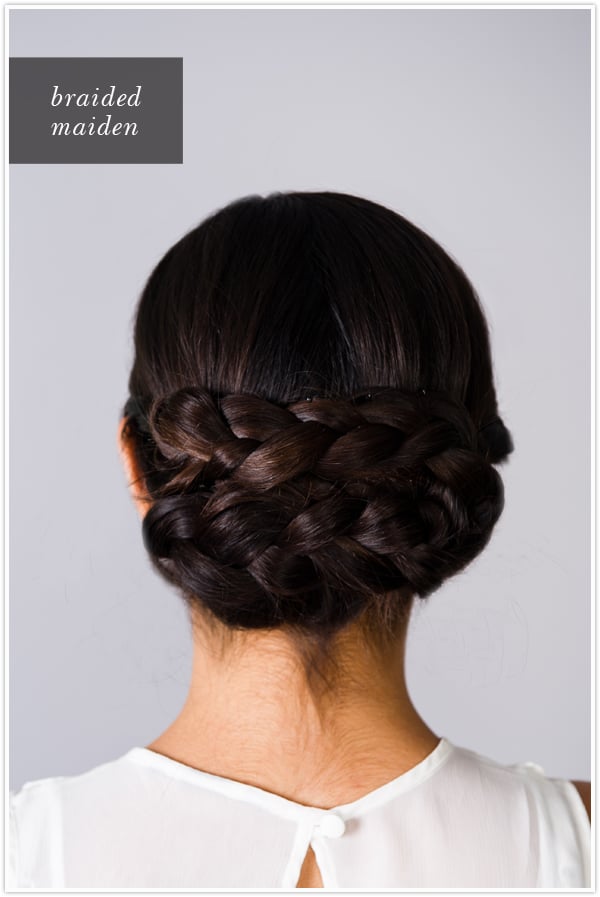
I know this updo looks super polished and ornate, but before you go running for the hills let me assure you that it actually stays very true to our Pretty Simple series… if you can make a regular braid, you can recreate this look. You guys should have seen Martha Lynn styling this one – our jaws were all dropped to the floor in collective disbelief of how easy it was, and how beautifully it turned out. I’m so glad that Cory Ryan was there capturing the instructions each step of the way, because I’m sensing that this look is going to be my new go-to (with my first at-bat being for date night tonight). Follow the jump for instructions!
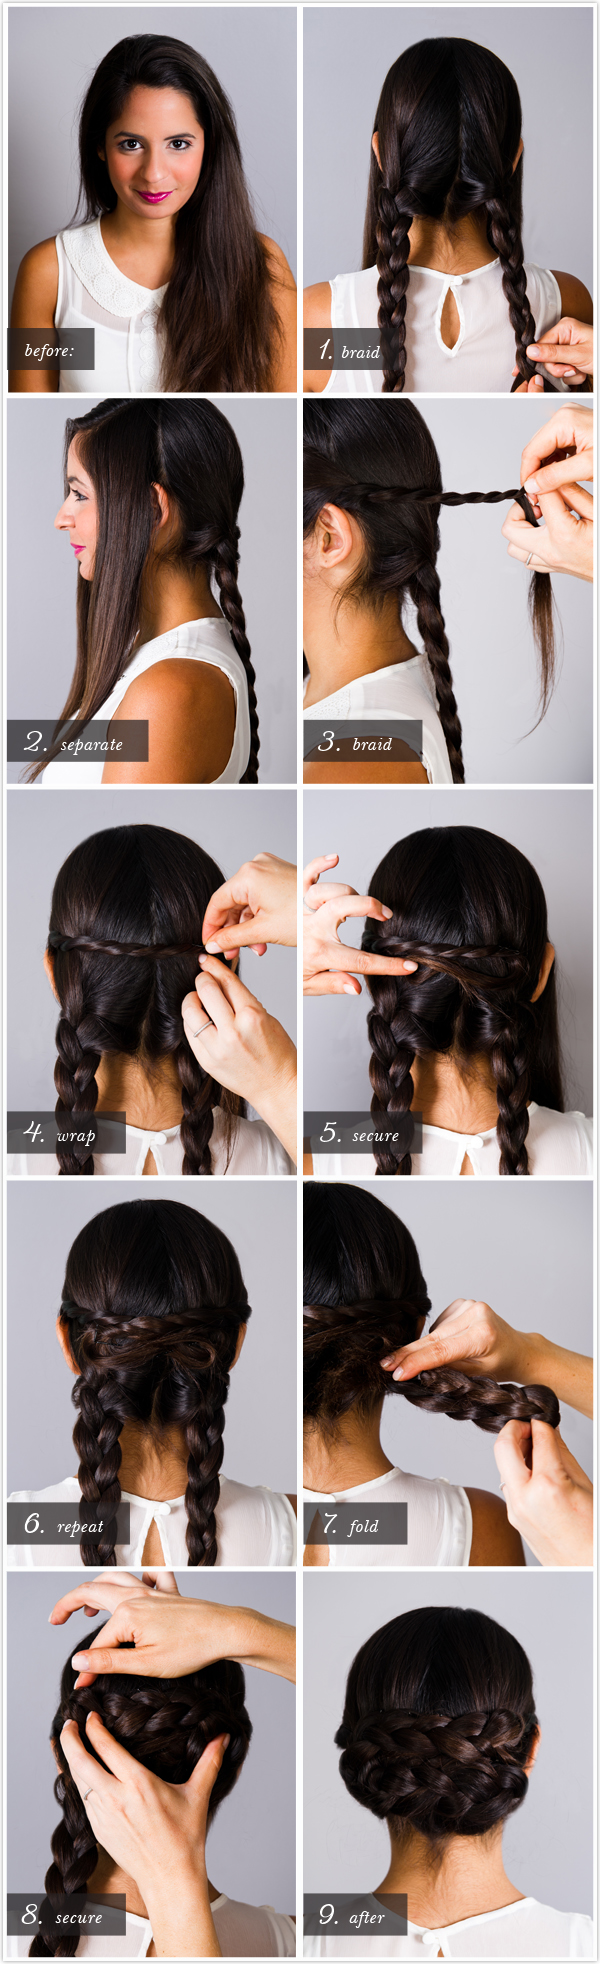

- Separate hair into three sections, parting from the ears forward, and then down the middle in the back. Make two braids with the back sections and tie off with elastics.
- Create desired part in front section, and separate as pictured.
- Twist back one of the front sections.
- Wrap around back and secure with a bobby pin.
- For longer hair, continue to wrap the twist across the back of the head in a figure-8 shape. Secure with bobby pins.
- Repeat steps 3 to 5 with other front section.
- Take one long braid and fold in half.
- Fold again across head, and secure with bobby pins.
- Repeat steps 7 & 8 with second long braid.


Original article and pictures take www.projectwedding.com site
No comments:
Post a Comment